Getting started
A new panel is usable in about ten minutes: connect it to your network, add your first device, and glance over the dashboard.
1. Power up
Mounted and powered, the panel boots straight to Dashboard 1. The icon rail on the left is how you move between screens — see Using the touchscreen panel.
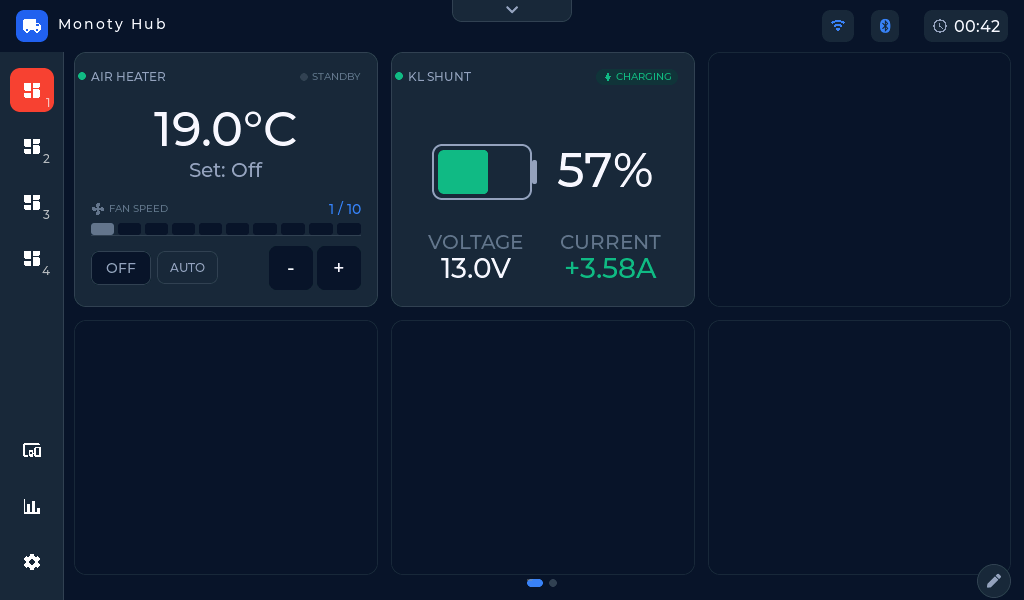 The panel boots to Dashboard 1; the left rail is the navigation.
2. Connect to your network
Open Settings (bottom of the left rail) → Network. Tap Scan, pick your WiFi network, enter the password, and tap Connect. If your van has a wired network, the Connection type box switches the panel to Ethernet instead. Details: Network settings.
A network connection is what enables the clock to set itself, the web app on your phone, remote access, and firmware updates. The panel works without one — Bluetooth devices don't need it.
3. Set your timezone
Settings → Date & Time → pick your Timezone. With the network connected, the clock sets itself.
4. Add your first device
Go to Devices in the left rail. Anything the panel already recognises nearby is listed at the top under Discovered nearby — tap Add on one, or use Add device to pick a type manually. Then tap Restart to apply; after the restart the device's cards appear on the dashboard.
Some devices need a little more than a tap — a Victron needs its encryption key, a Truma needs pairing mode — each device's own help page under Devices walks through it. See also Adding a device.
5. Make the dashboard yours
Card layout is up to you — rearrange cards across the four dashboards with the pencil button (Dashboards), and name your devices on the Devices page so the cards say "House battery" instead of "Shunt 1".
Next steps
- Open the web app from your phone: Access from your phone or computer.
- Get notified when something needs attention: Alerts.